4.14.2011

sew stinkin' cute

hi all!  it has been a whirlwind the last few weeks.  i have been trying to spring clean the house during nap time but somehow manage to find a new project to do in each room.  so, needless to say, i am still not done with the flippin' cleaning!  ugh.  my goal is to be complete by the end of april though...

in order to spring clean the dining room, i had to finish up some sewing projects first.  the dining room is magically transformed into my sewing room every time i think of a new sewing project.  i wish i could say that it is an organized and accommodating area but it is not.  i feel all crammed in between the table, large house plant, and wine bar.  anyhoo, i did manage to finish my sewing.  now i just have to find the motivation to clean that room. boo.

i made another apron for each of my girls plus a set of oven mitts and a couple small batches of cookies. :)


i love love love love how the aprons turned out!  i used a tutorial from creation corner that you can find here.


the cookies are made of felt.  i made chocolate chip and iced sugar cookies with sprinkles.  yum!  to make the cookies i just used something round to trace the circle.  for the icing i just free-handed a squiggly circle that was smaller than the outer circle.


i like to use heat n' bond lite (HNBL) for tracing.  you trace your pattern on it, then iron it onto fabric.  then you can peel the "tracing" off and iron it to another piece of fabric.  for example:  i ironed the cookie pattern onto the felt first.  then i cut out the pattern.  since it is ironed onto the fabric it makes it easier to cut out because the fabric is stiffened up from the heat n' bond.  once my cookie circle was cut out, i peel the tracing off then ironed the circle onto another piece of felt (same color).  this way my cookies are double thick.  i think they hold their shape better.  i actually sew around the edges before cutting the extra fabric off.  it's my way of cheating.  makes my cookies' edges look perfect! :)


for the chocolate chip cookies, i used tan felt and dark brown for the chips.  to make the chips, i ironed some HNBL onto the felt, then cut out triangles.  next, i peeled the HNBL off the back then ironed the chips to the cookies.  i sewed around the edges of each chip so they will stay put forever.  if you do this step though, you have to sew the chips on before making your cookie double thick.  otherwise you will see all your stitches on the back side of the cookie.


for the sugar cookies, i did basically the same thing as the chocolate chip cookies.  i used ivory felt for the cookies.  you can use any color for the icing.  the sprinkles are made using embroidery thread.  to make the cookies:  first, i cut my cookies and icing out using HNBL.  next, i made my sprinkles on the icing using french knots.  you can find a super easy tutorial here.  after making the sprinkles, i ironed the icing onto the cut out cookie.  then, i sewed around the edge of the icing.  next, i ironed the cut out cookie onto another piece of ivory felt.  then sewed around the edge of the cookie.  finally, i cut around the cookie edge so my edges look perfect.  :)

3.24.2011

chef sadie and chef leni

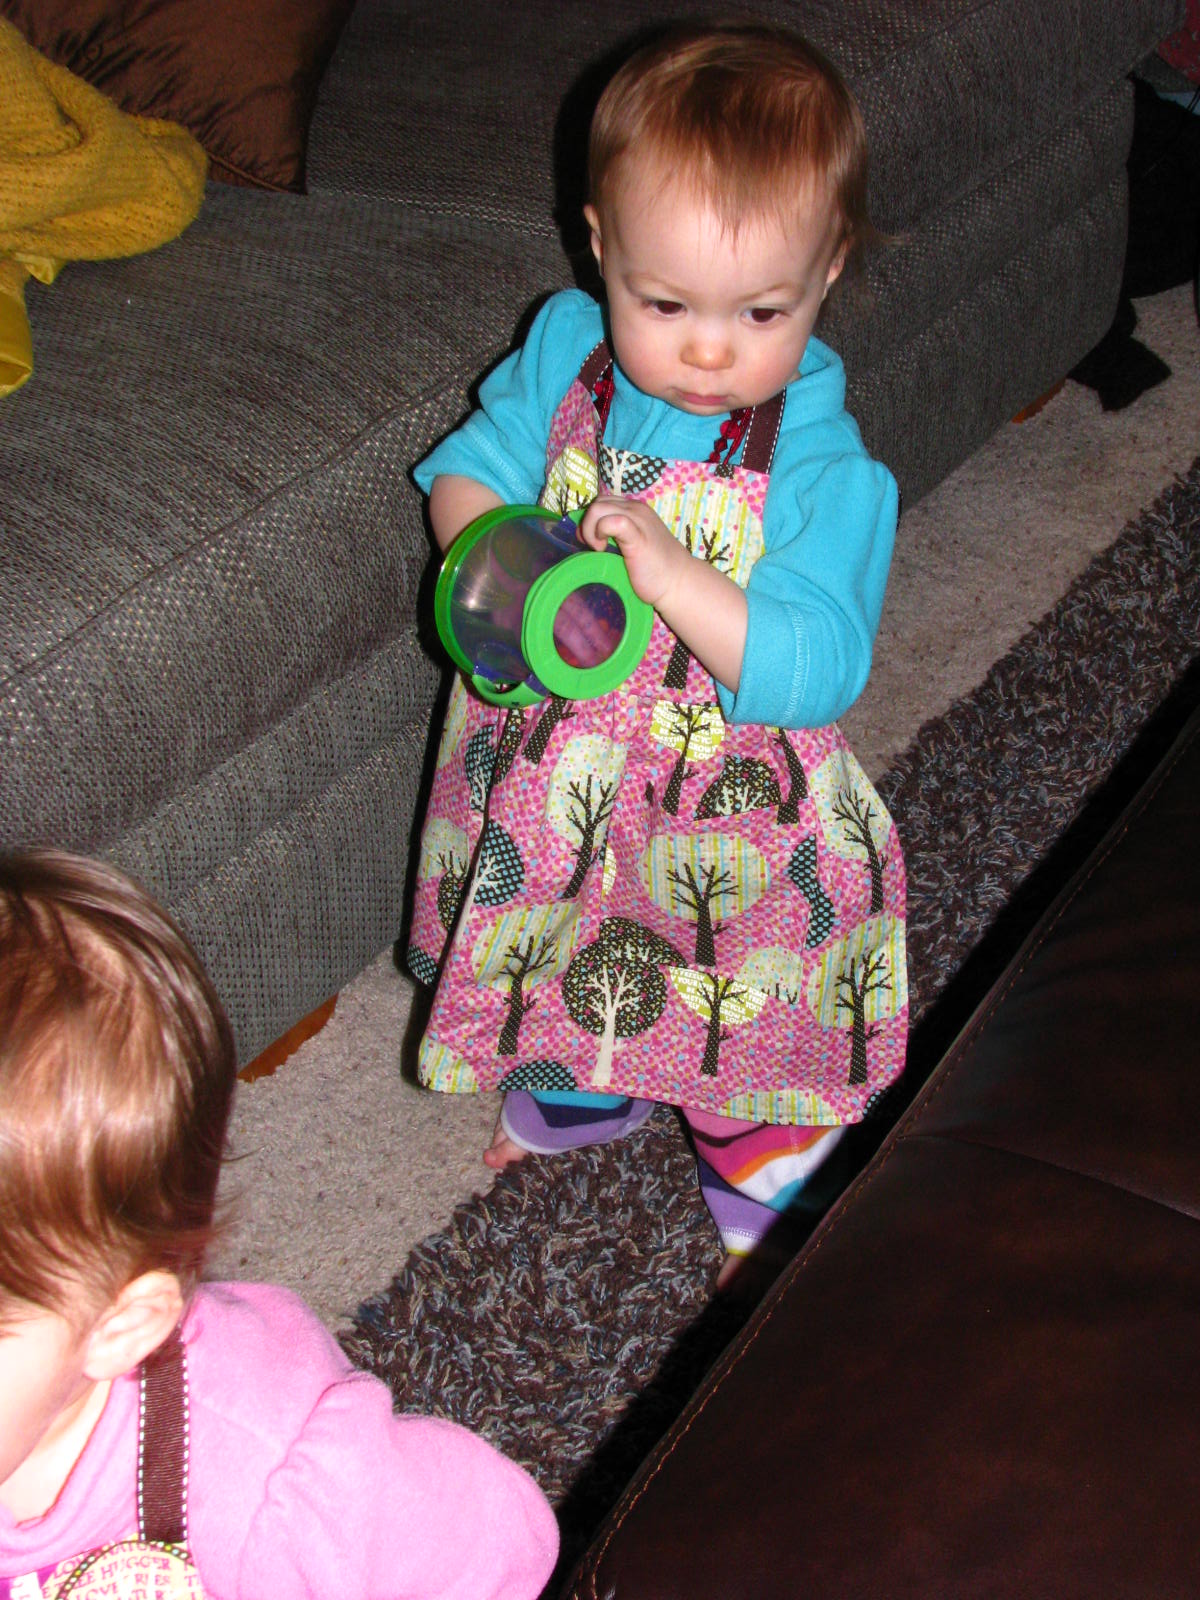
just a quick post about the super adorable aprons i made for the girlies.  i found some cute material at joann fabrics. both have retro looking trees on them.  loved it.  had to have it.  lucky for me, simplicity patterns were $1.99 while i was there.  score!  here's the pattern i chose...
i followed the pattern (the one on the left) to a T with ONE exception.  the pattern calls for you to make the tie out of the same material as the rest of the apron.  i chose to use grosgrain ribbon instead for two reasons.  1) it gave the apron a contrasting color and 2) it was super easy to cut the ribbon compared to folding and sewing material into a long string (one long piece that ties in the back but is also the adjustable neck strap).  honestly, easy peasy.  i loved how they turned out.  and the girls wore them the rest of the day. :)


3.22.2011

toy tower revamp

hi all!  i finished a project. yay! 

it all started a few months ago when i found this baby at goodwill.

kinda cute, right?  they were asking $10 for it!  what?  it didn't even have all the parts plus it was super wobbly.  i talked them down to $5.  nothing a little love can't take care of...  well, maybe it takes a bit more than just love...  the bottom basket used to be just like the blue and pink ones.  i took it apart when i got it home to get started on making new ones.  i took it apart so i could figure out how to make new ones but it was harder than i thought.  thus, being put off until now. 

i found a super cool tutorial on how to make fabric covered boxes on the smallest sparrow blog.  she explained it in three posts which you can see here, here, and here.  and this is my version, very similar but a few tweaks.

first i measured the existing baskets.


then i rummaged through the trash to find some boxes to use.  yep, the trash.  don't judge...it was free.  then, i measured out my pieces.


and then cut them all out.  shew, my hand hurt.


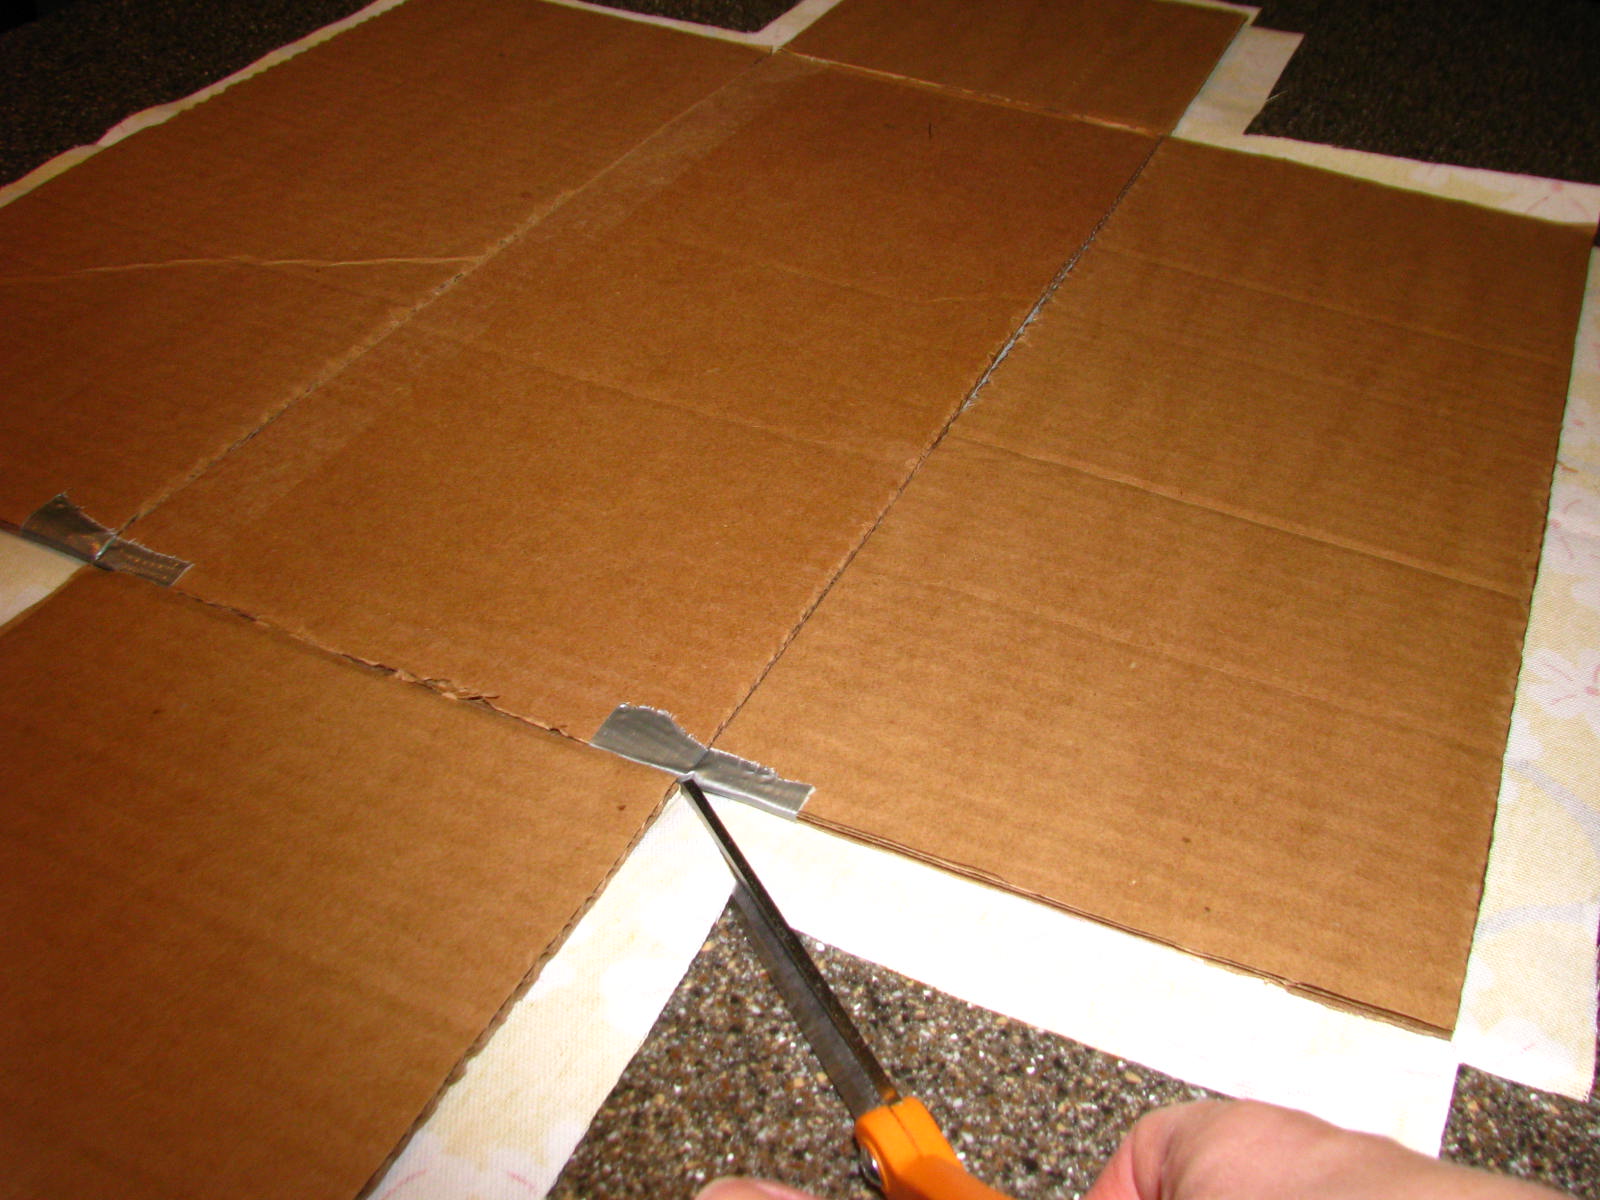
now it was time to piece it together.  i laid out each box then taped the pieces together using duct tape.


with my fabric folded in half, right sides together, i traced the box on it.  i also traced a second line about 1 inch from the first tracing.


next i cut the tracings out.  be sure to keep your fabric doubled so you cut two pieces at the same time.  you can see a third line in the picture below.  it is 1/8 inch from the second line.  this is to take in account the thickness of the cardboard.  i know, confusing right now, but it works.  once you have cut all the pieces out, you are ready to prep the inside box piece.  (that is the piece with the tracings on it)  fold each edge to the 1/8 inch tracing.  i glued it using tacky glue.  then i ironed it to "set" the folds.


after all edges are glued and ironed down, you are ready to work on putting the fabric on the boxes.  to do this you will use the second piece of fabric.  (the one without the tracings)  lay your fabric piece wrong side up.  apply mod podge to the center piece of the box.  then flip the box over onto the fabric and press it down.  make sure it is lined up correctly!  flip it back over and smooth out the fabric so there are no wrinkles.  continue the same process for each flap of the box. 


snip the fabric on each inside corner to help you with the next folding step.


you need to wrap the fabric around the edges and glue it down.  the corners need folded like when you are wrapping a gift.


i added clothespins to the corners to help keep them down while it dries.  when you are finished with this step, it should look something like this...


i let my boxes dry overnight before starting the inside.  this step is much like the outside step without having to wrap the fabric around the edges.  you also have to add the ribbon during this step.  unfortunately, i totally spaced taking pictures of this step!!  whoops!  still new to this blogging tutorial thing...luckily, you can check out how to do it here.  i did a couple things differently.  one--i added two ribbon loops to one of the long edges because my boxes need to hang on my toy tower.  two--i could NOT get my sewing machine to cooperate.  it would not sew through my box at all, so i reinforced all my ribbon by using hot glue to attach it to the inside of the boxes. 

after i finished the inside of the boxes, i propped them up using some mixing bowls and let them dry overnight again.  if you prop them, your boxes will dry in a boxy shape which helps NOT put so much stress on your ribbons to tie them shut.

now for the frame.  time for spray paint.  i used rustoleum in colonial red.  very pretty.  thank heavens for the nice weather!  i was able to get a couple of coats on the frame outside! yay!  not stinky, fumey garage!


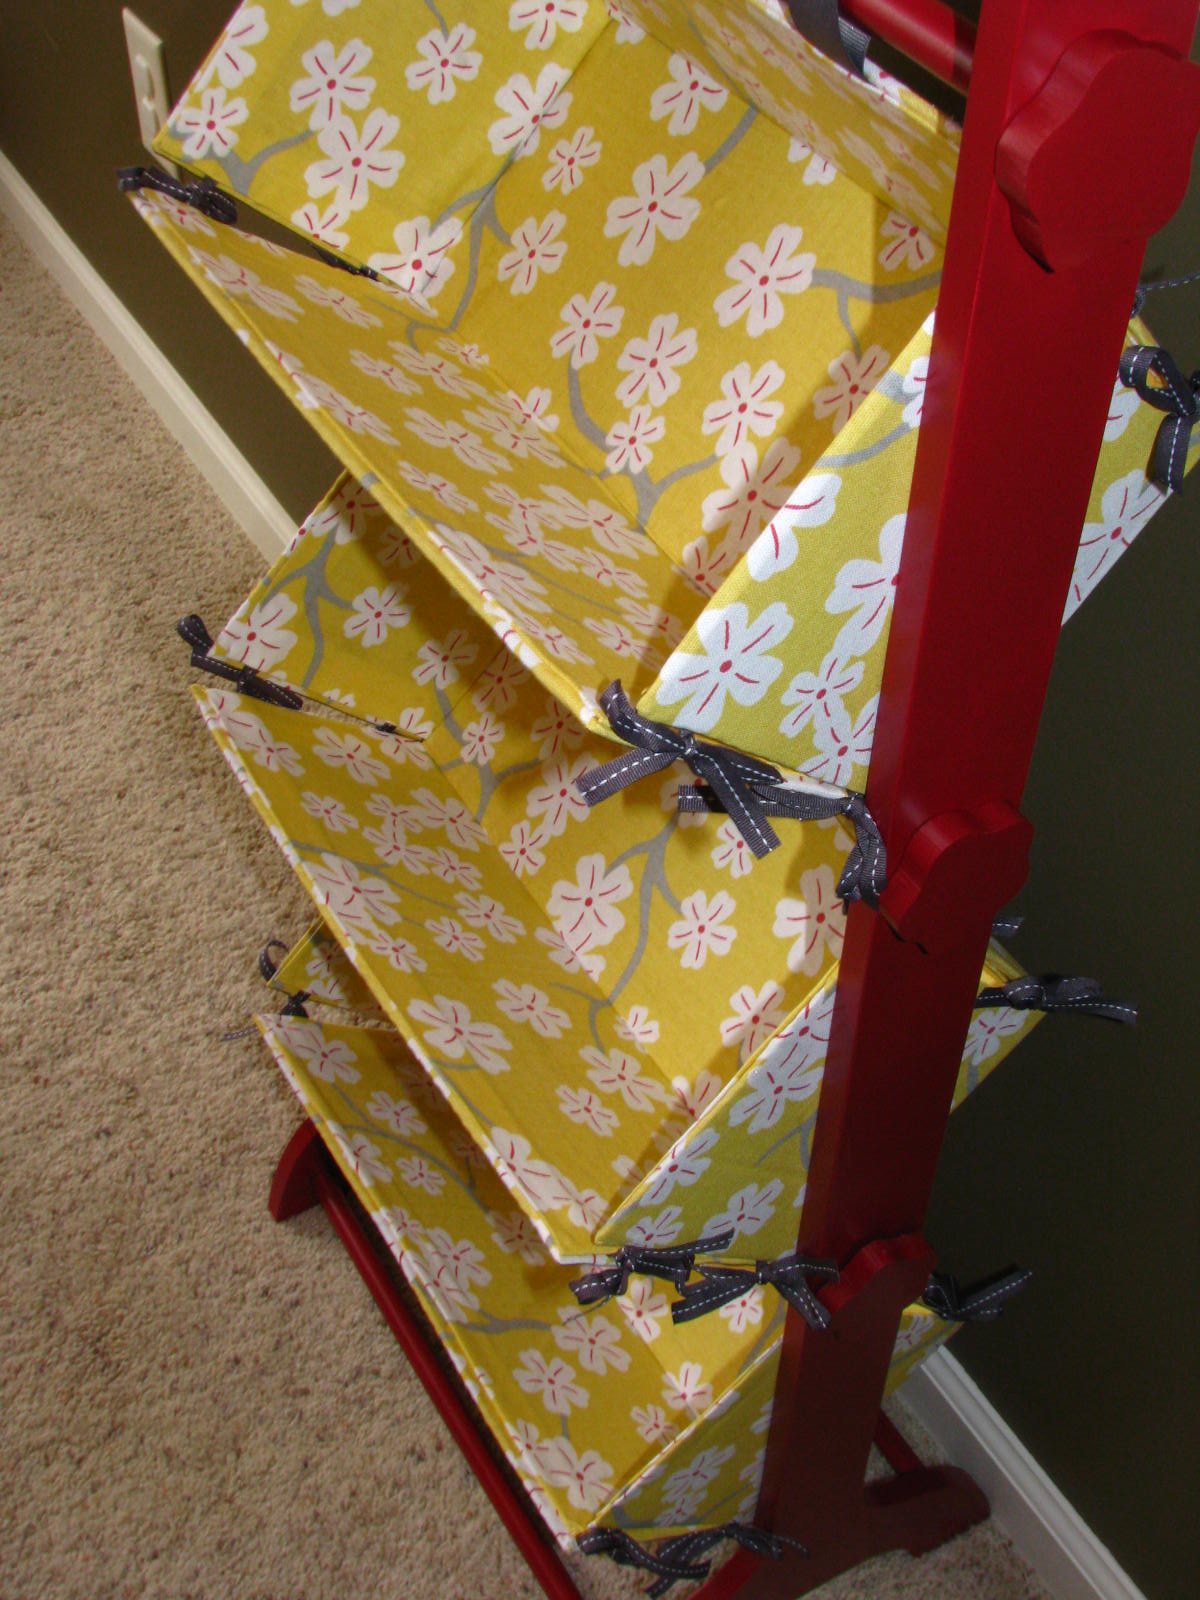
here's the final product...  she is so pretty!  i love the fabric against the red frame.  :)


not too bad, eh?  from trash to treasure :)

3.19.2011

project-turned-inspiration

i know i promised that i would be posting soon.  and i will.  i have a couple of projects and a tutorial to share.  just not now.  but with good reason.  you see, i have been diligently working on a tutorial on turning a piece of crap gently used, goodwill find into an adorable toy holder for my girls.  it is one of those projects i meant to do a hundred years ago when i found the junk gem at gw.  i started with good intentions but it was a total flop...or at least that was my excuse for quitting.  anyhoo, with my obsession of reading blogs i found the cutest tutorial on how to make fabric covered boxes.  ooooh!  quick, mollie, think!  think of a reason to make one of those thingies.  alas, i did!  it is just what i needed to get me back on track to finished my toy holder project. :)

like any other project, i ran out as soon as possible to pick up any supplies i would need that i didn't already have on hand.  spray paint, new fabric, and ribbon.  yay!  i picked out the fabric first because the other two items would need to match it.  i fell in love with a beautiful lemon-colored fabric with white tropical flowers that have pretty gray stems and yummy red details.  i seriously smile every time i look at that fabric.  yep, fabric can make you happy.  it is the combination of colors that make me feel happiness.  you know what else makes me happy?  my garden tub.  yep.  used the living daylights out of that puppy while i was pregnant with the girls and still use the heck out of it. that tub is a slice of heaven to me.  unfortunately, my first attempt at decoration my bathroom sanctuary let me feeling a bit "blah".  which brings me to my POINT... "project-turned-inspiration". 

my project of making the toy holder lead me to beautiful fabric.  that fabric is the kind of fabric that i want to see in a room of my own, not just holding toys.  it has inspired me to revamp my drab master bathroom.  yep, another dang project.  be happy, i will post about my progress just as soon as i get started.  haha.  until then, enjoy some photo pretties of inspiration i have found. :)


3.15.2011

no, i haven't abandoned my blogging passion yet...

so sorry i haven't posted anything in a month!  seriously, where does the time go?  i promised that i have been working on stuff to share with you all but apparently i bit off more than i could chew...  i have a few things to finished up on some projects before they are post-worthy.  but just in case you don't believe me, here's a sneaky peak...
see you very soon!  no, seriously, i mean it...

2.14.2011

colts playhouse

hi all!  a friend of mine asked me to create a colts theme playhouse for her little boy.  i had so much fun creating one for her.  can't wait to see pics of her lil' guy enjoying his stadium!  thanks for letting me create a wonderful memory, melissa!!
 the front of kody's stadium

 the locker room

 target practice

the end zone

happy valentine's day!

 surround yourself with people you love :)